Firstly, you need to download and install the Polylang plugin. when you activate this plugin, you’ll see the Languages tab below Settings in the navigation menu. Click on it.
Here, you can add any number of languages you want for your multilingual WordPress site.

String Translation
Now, Go to Strings translations and you’ll see all the strings of your site here you can add the particular language string in language options.
Also, you can modify the URL for multilingual content. You can also activate the detect browser language setting. This will allow the website to change the language to the visitor’s preferred language used in the browser.

Translate Posts
To add multilingual content or to translate old post you need to go to the post editor. First, select the default language and type in the post content. You can see the flags of the languages you added earlier and the plus signs beside them.

Now, click on the plus sign to type in the translations of the default post.
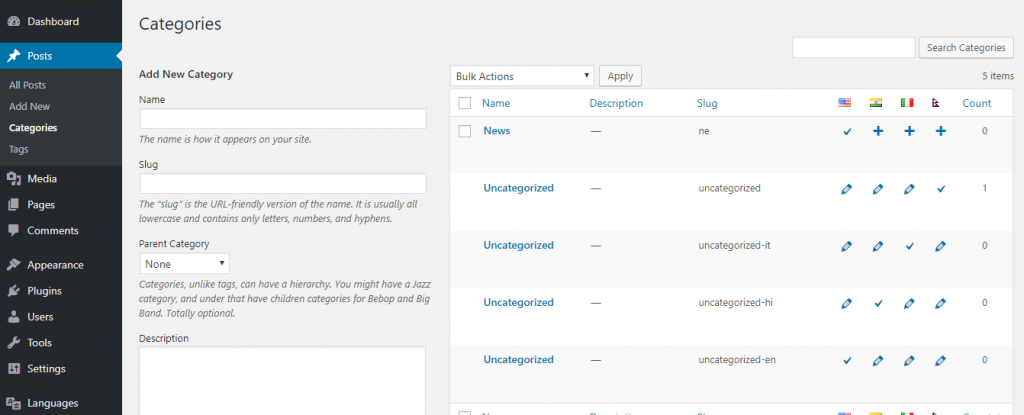
Translate Categories and Tags
You can also translate all the tags and categories used for your theme blog. Go to Posts >> Categories and click on the plus icons to translate them one by one.
Displaying the language selector
Using this plugin, you can allow your visitors to select the language in which they want to read your post. Click on Appearance >> Widgets. You can see the Language Switcher widget there. Then, drag and drop the widget to the widget area. On the checkboxes, check the Displays language names option.
